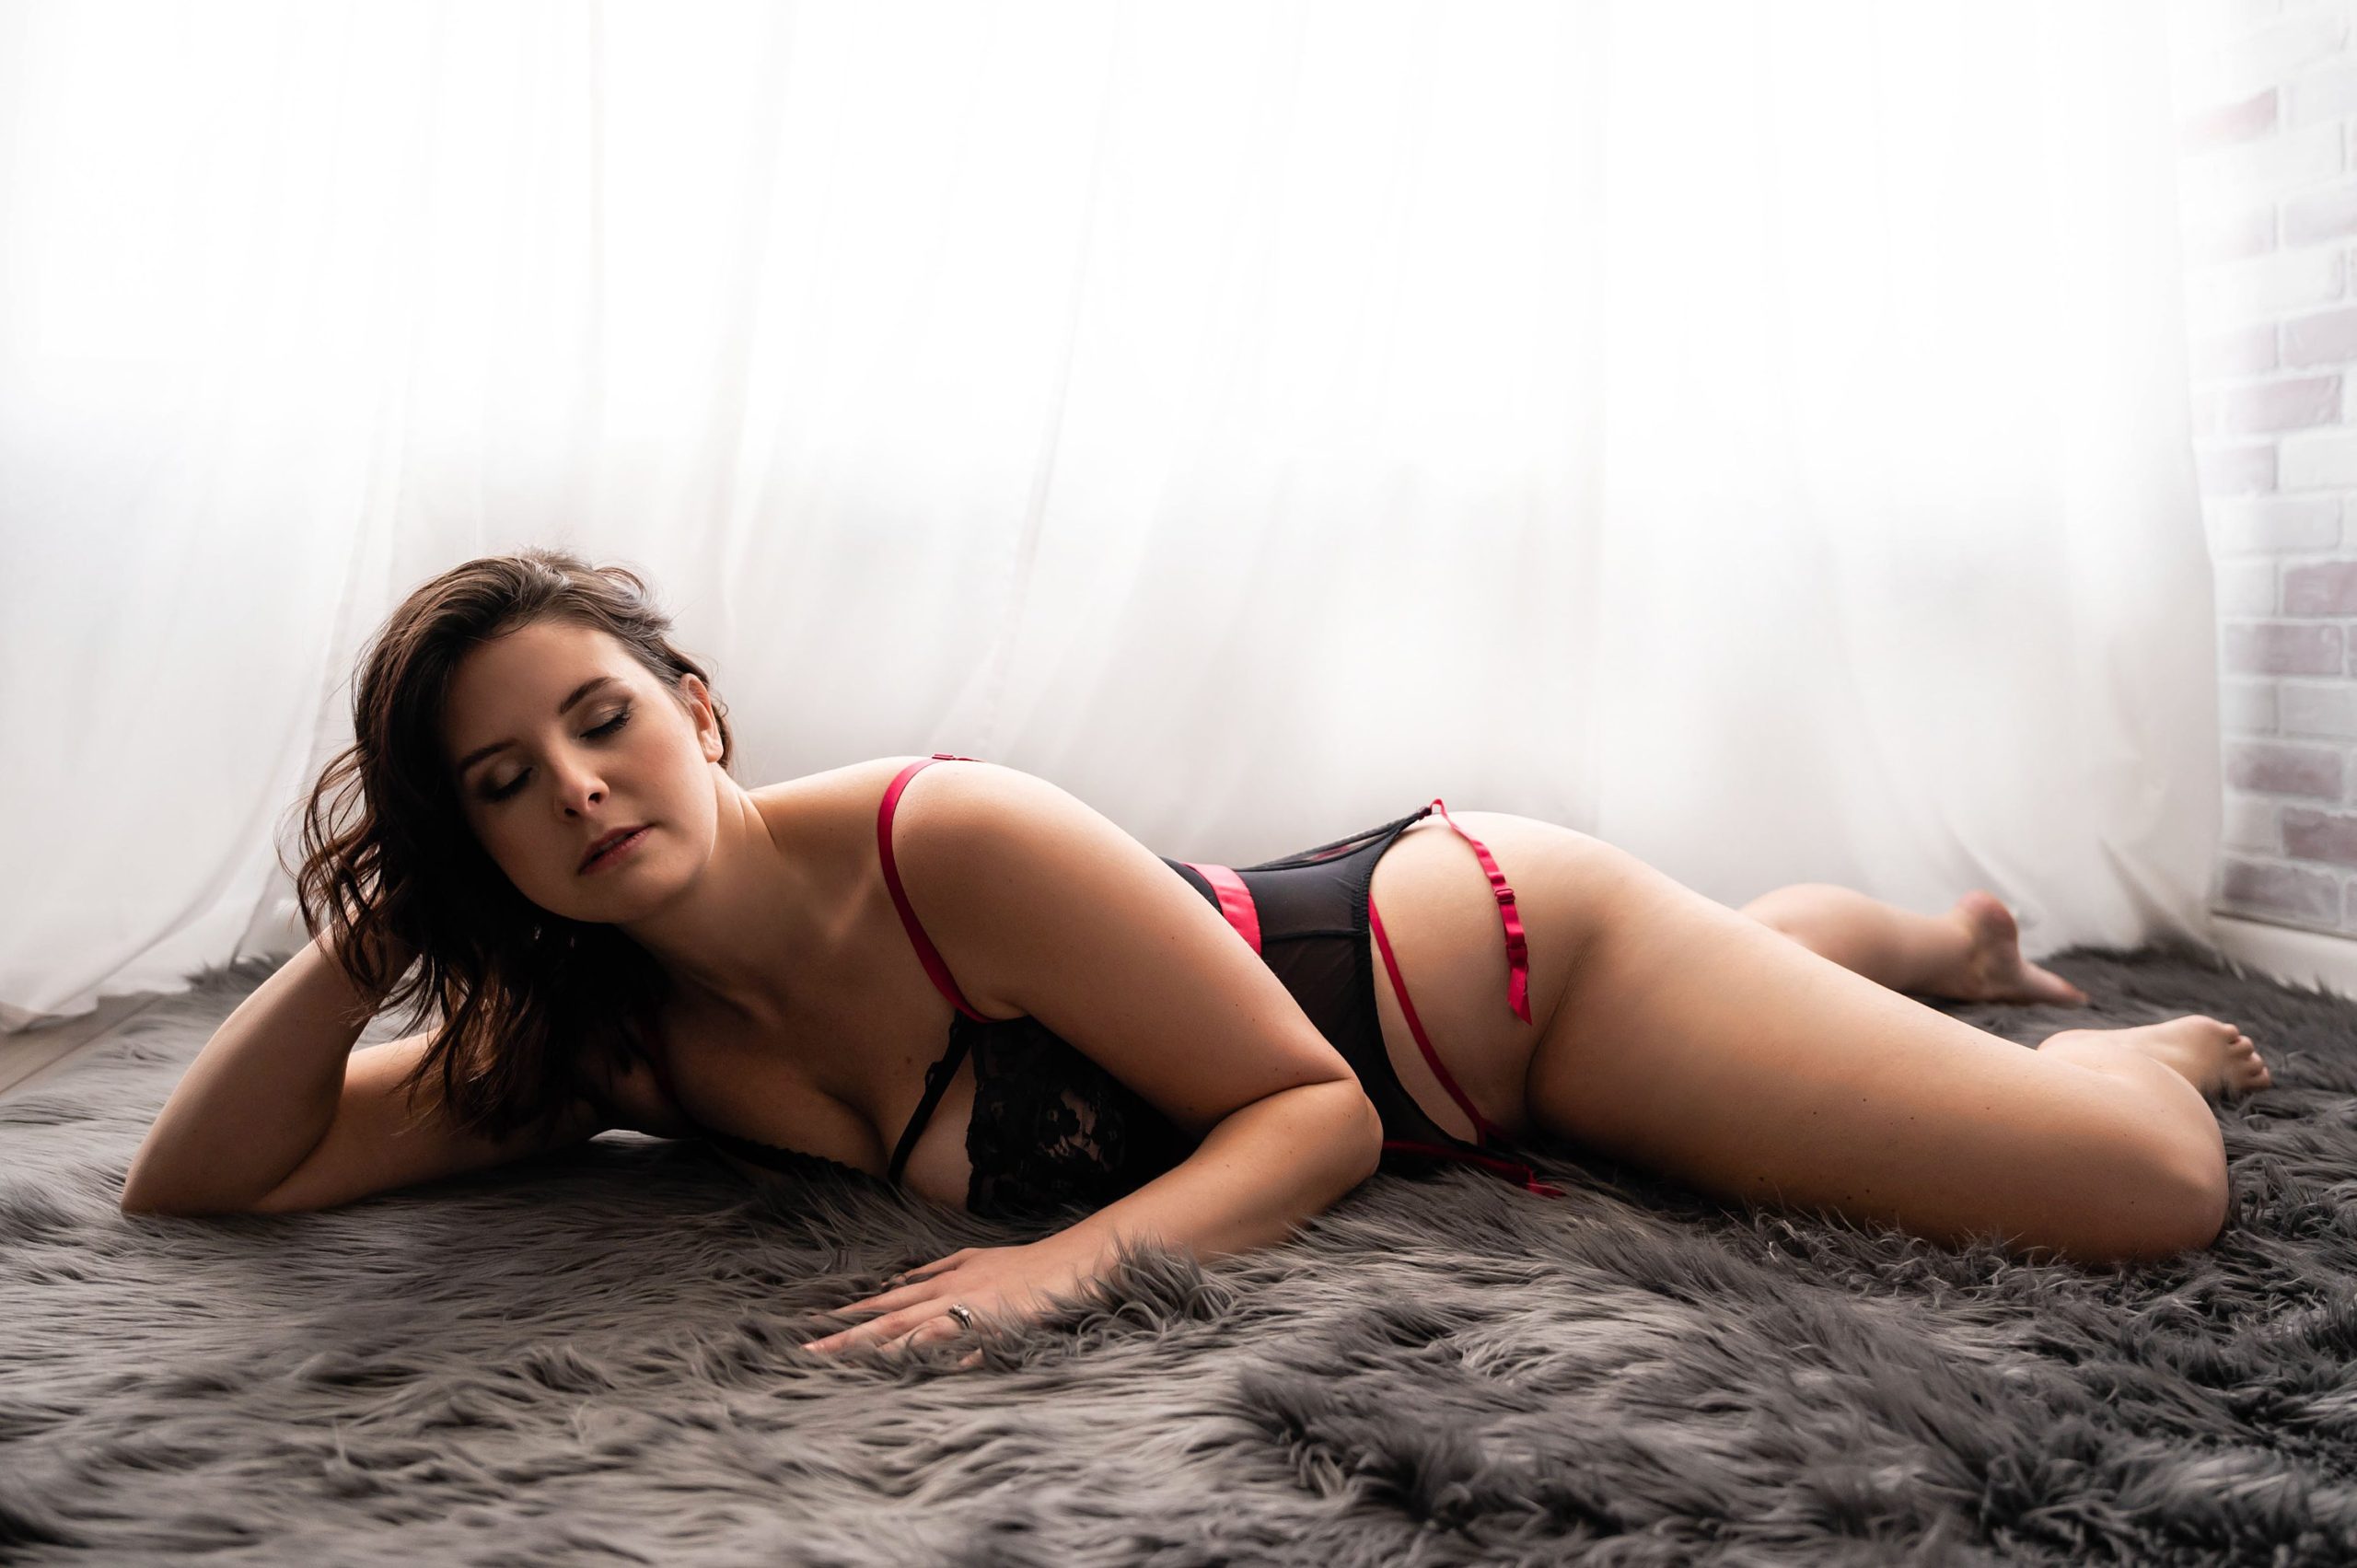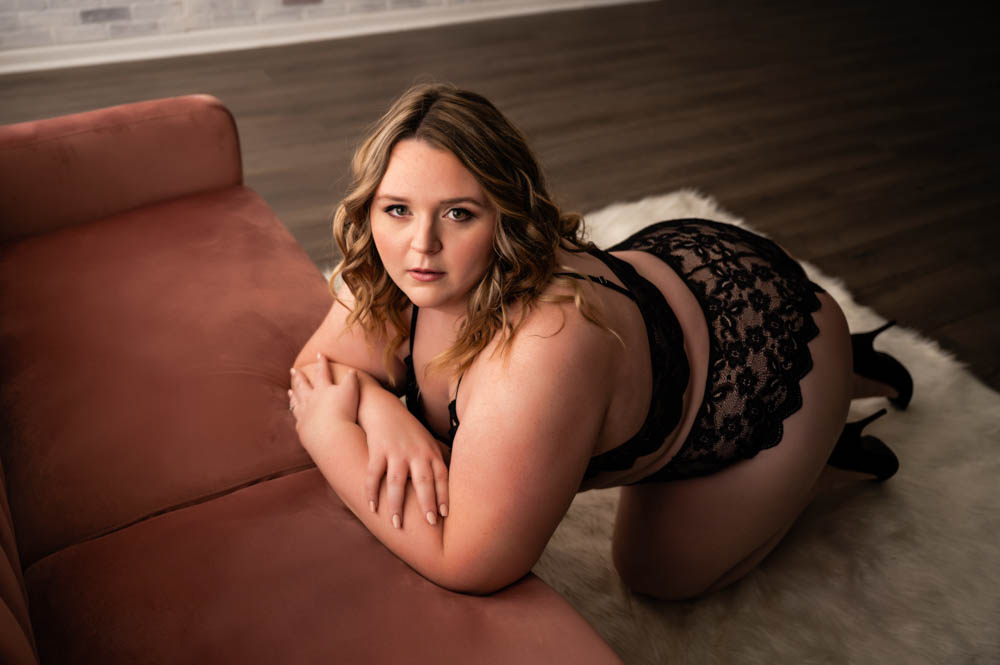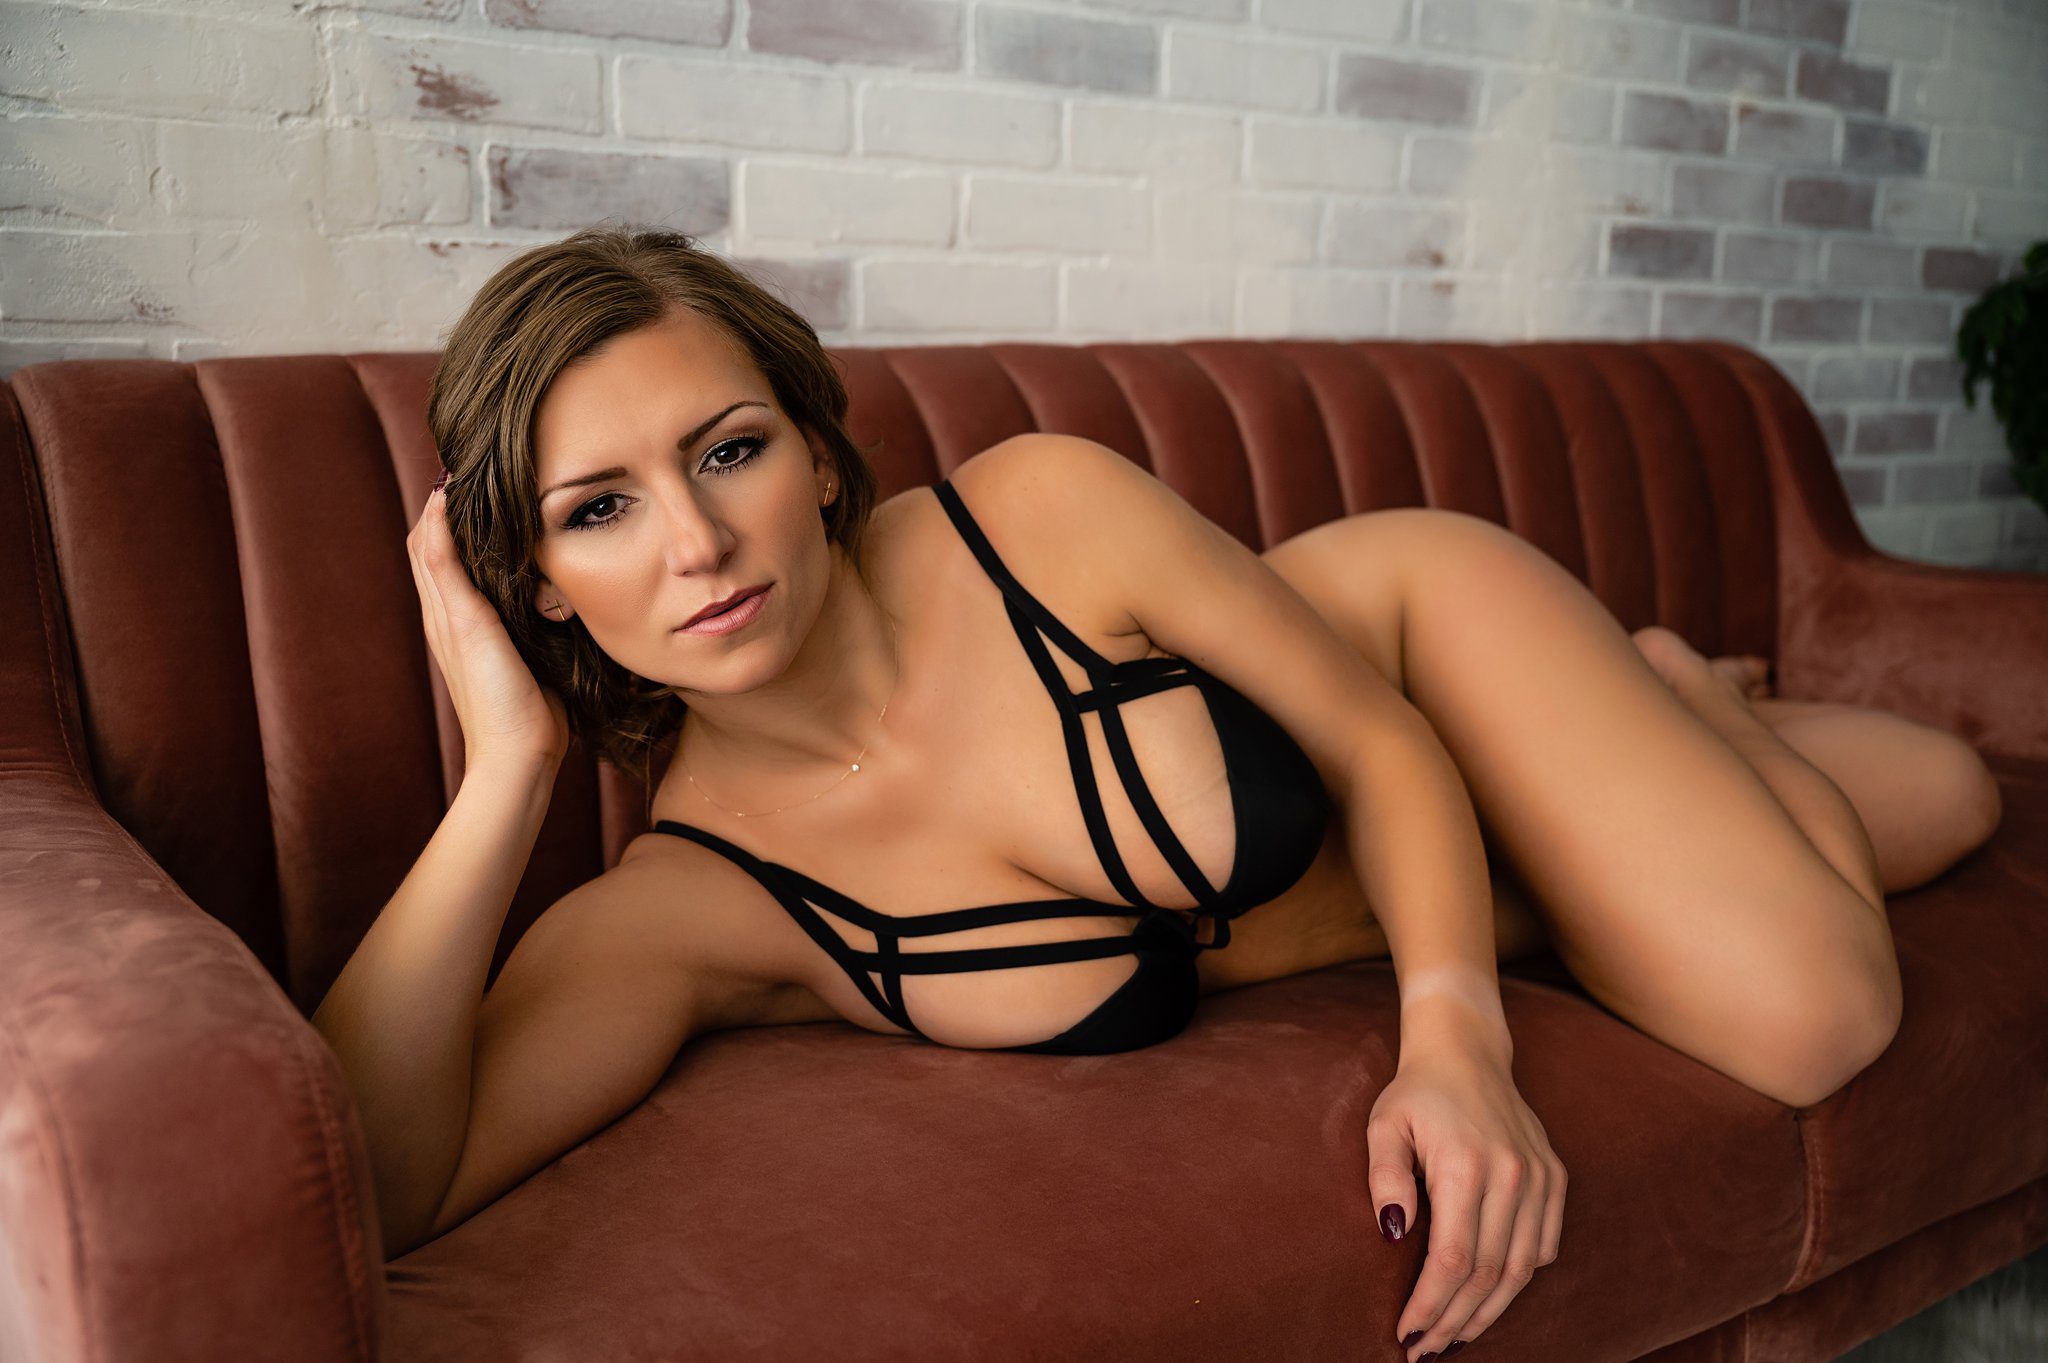
It’s Time To Feel Beautiful, Confident, & Sexy
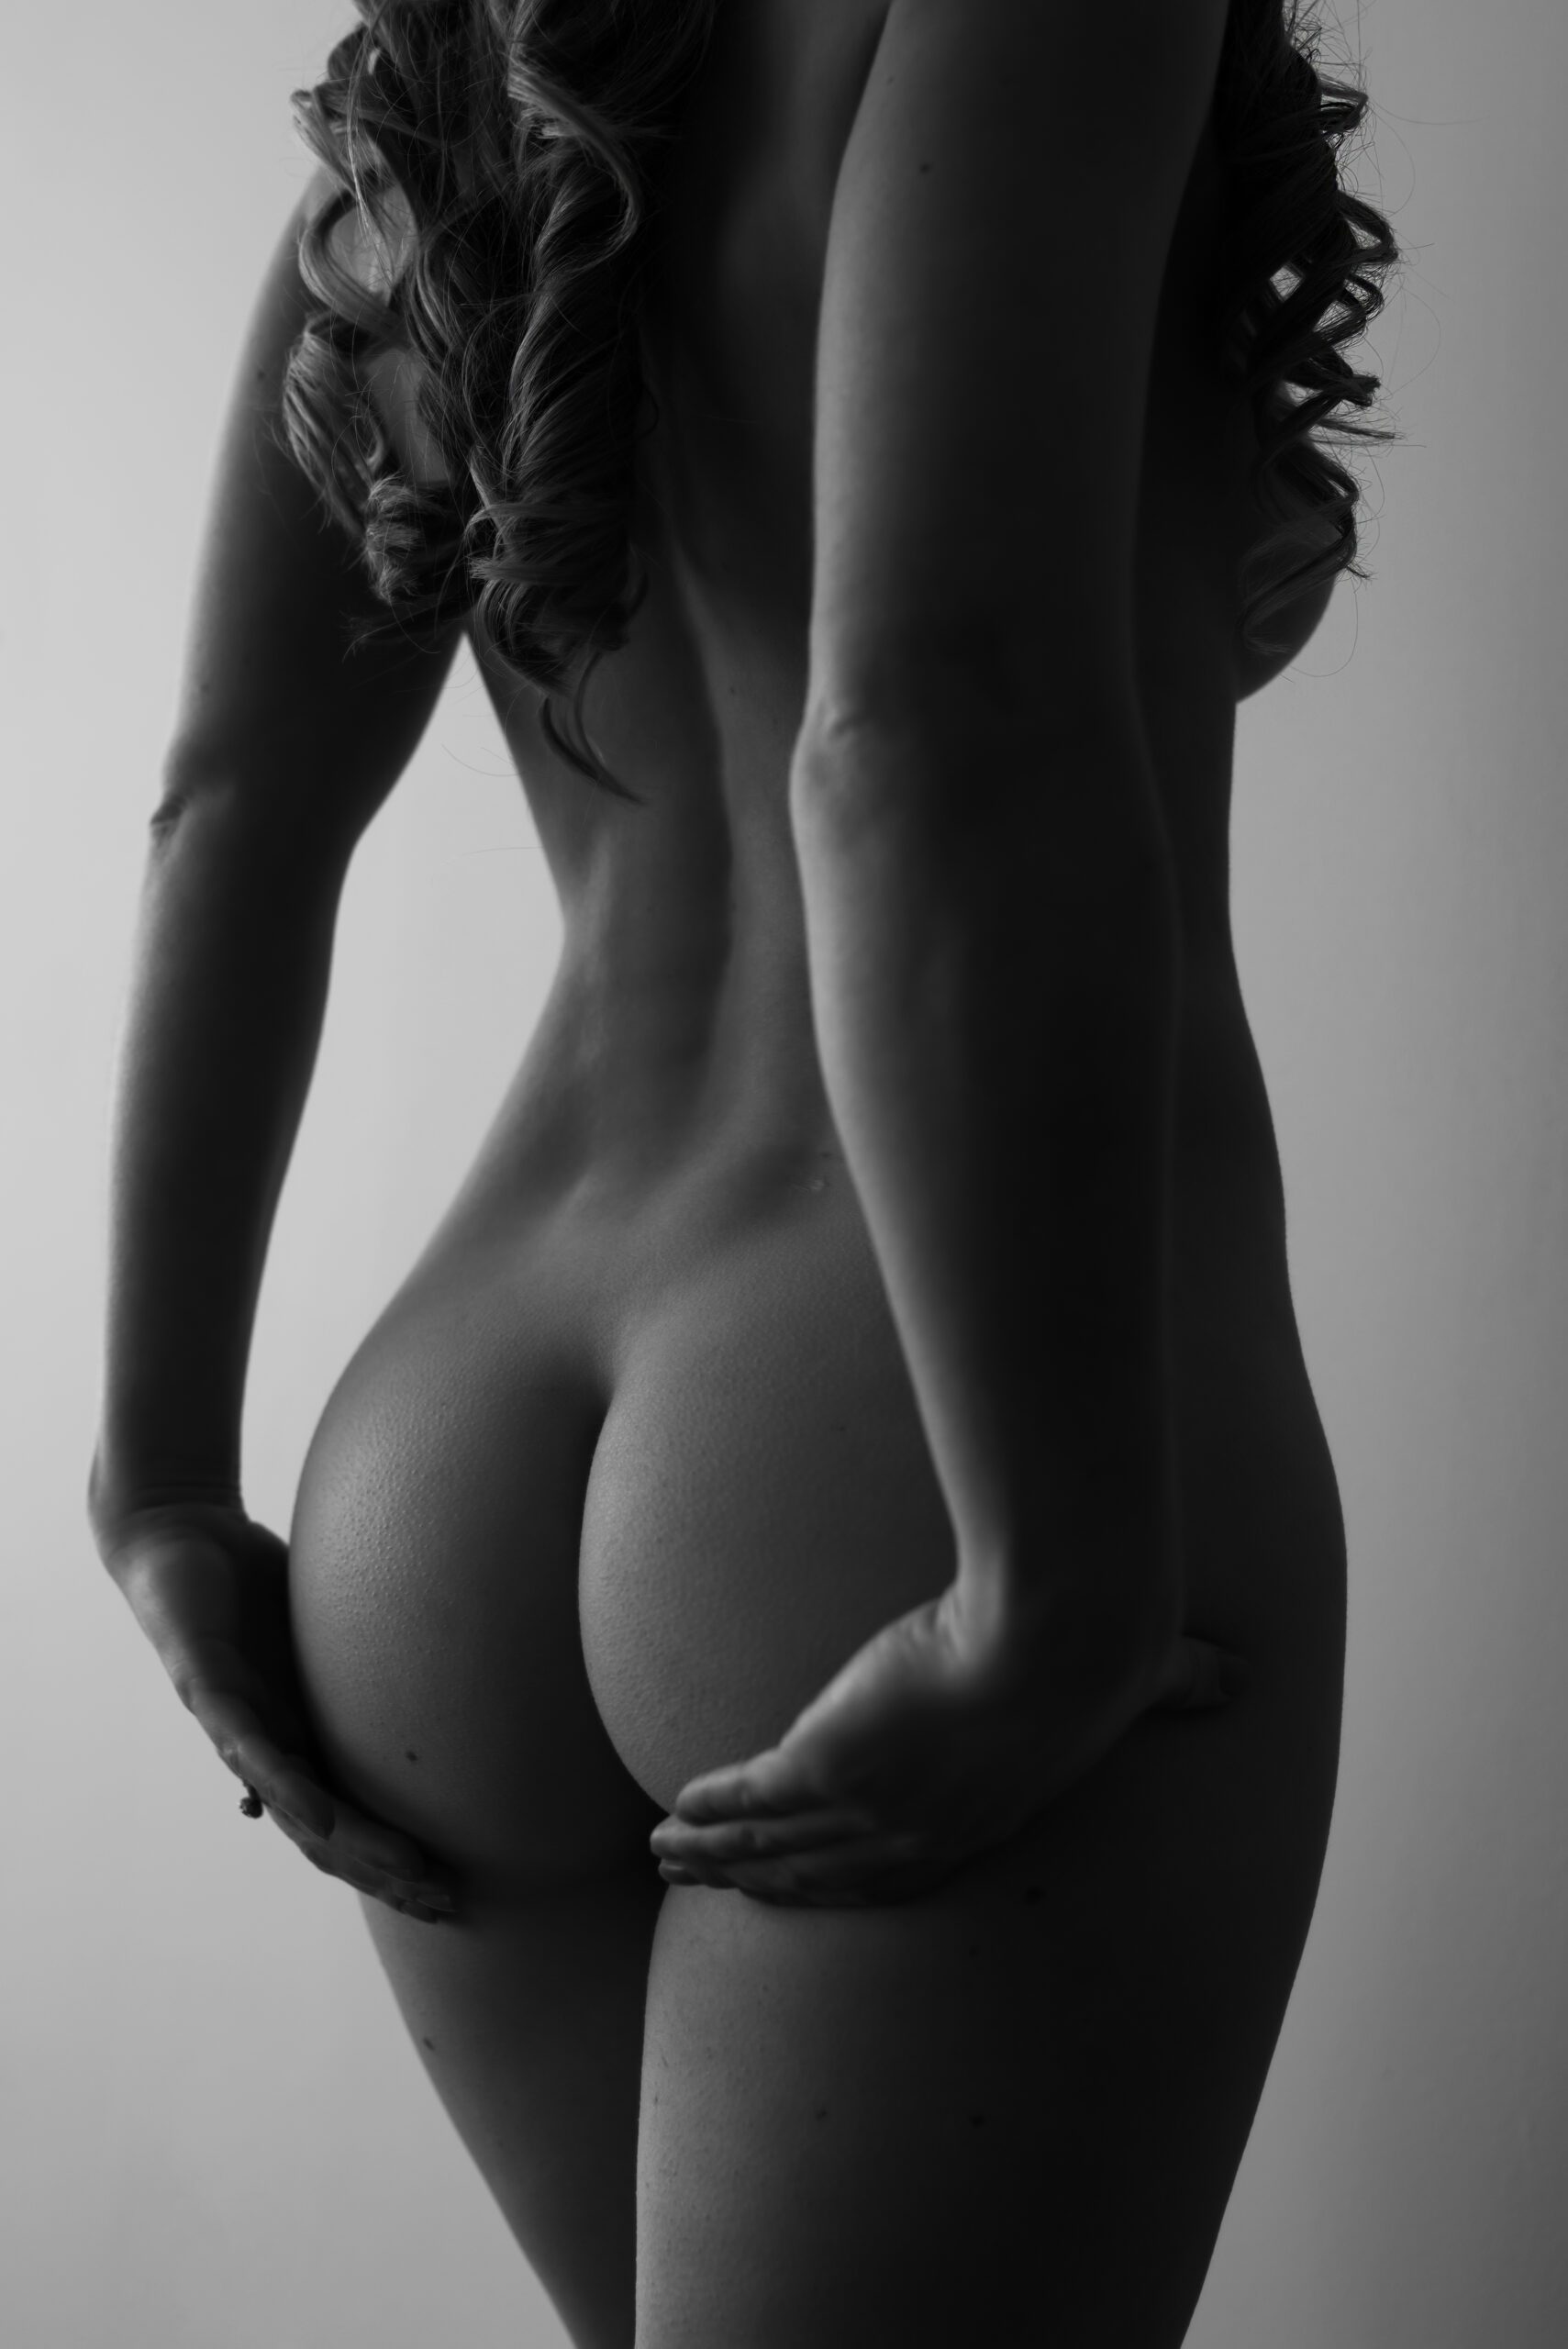

Welcome to NWI Boudoir
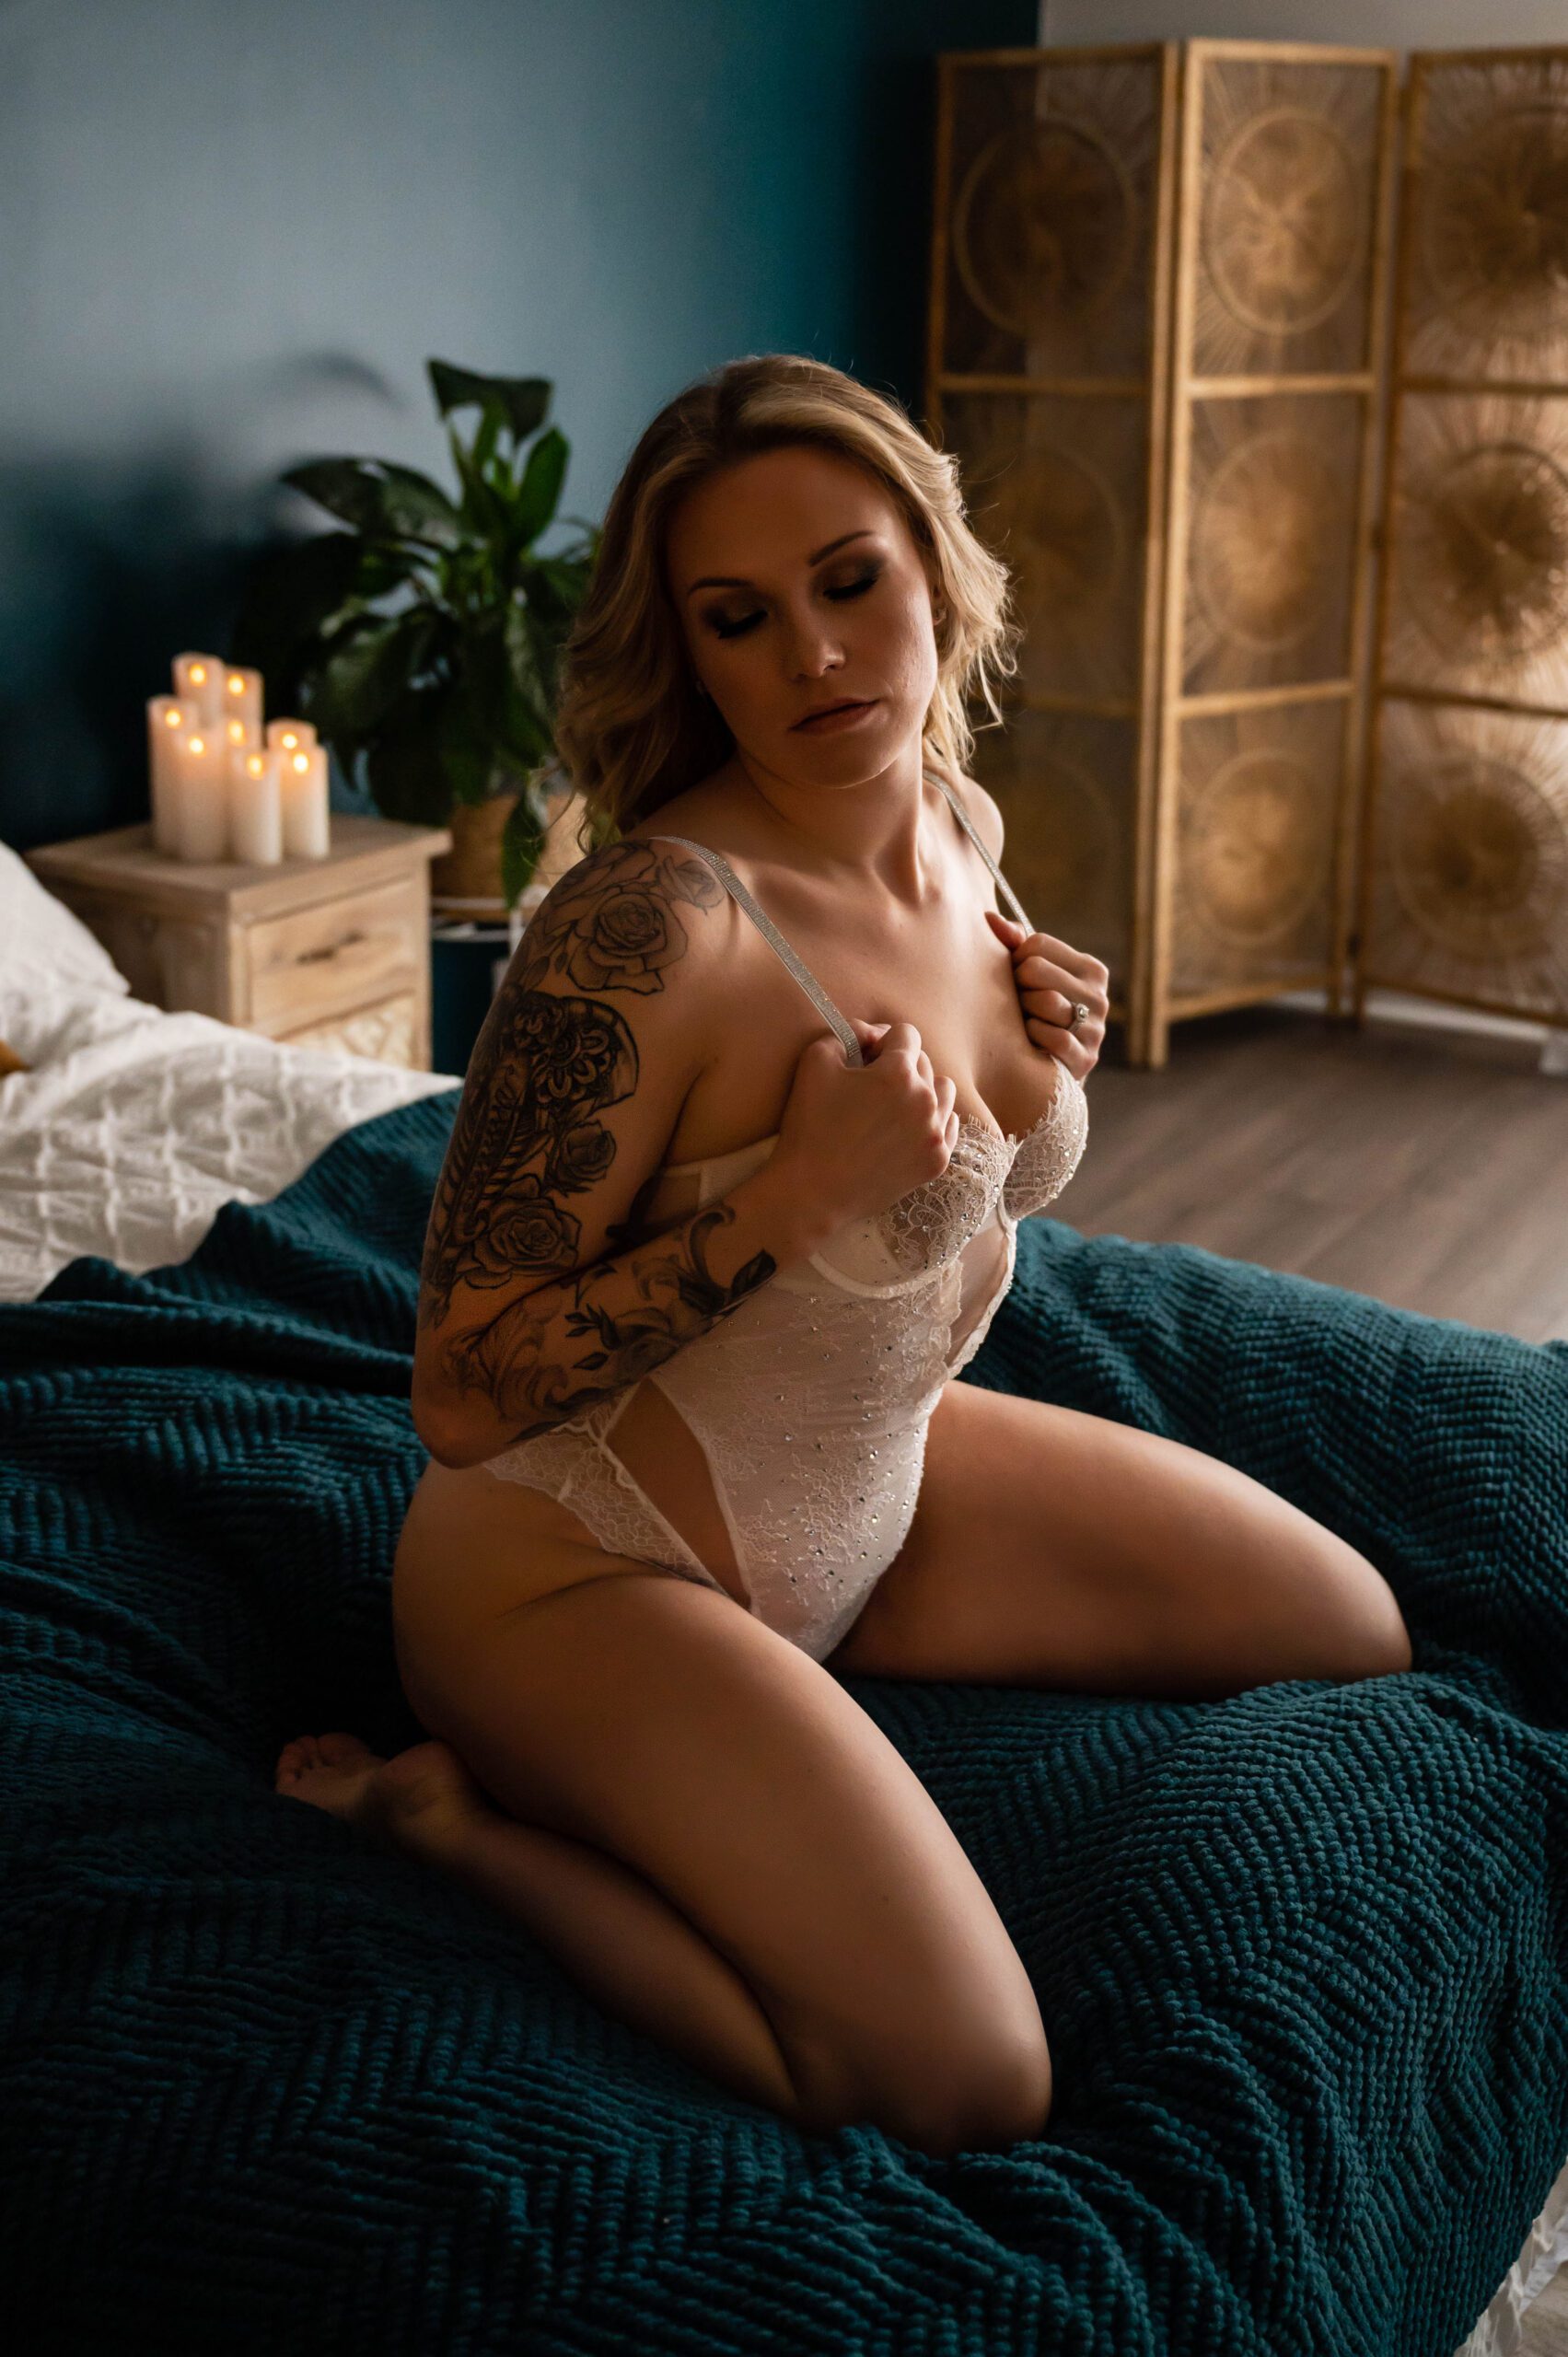
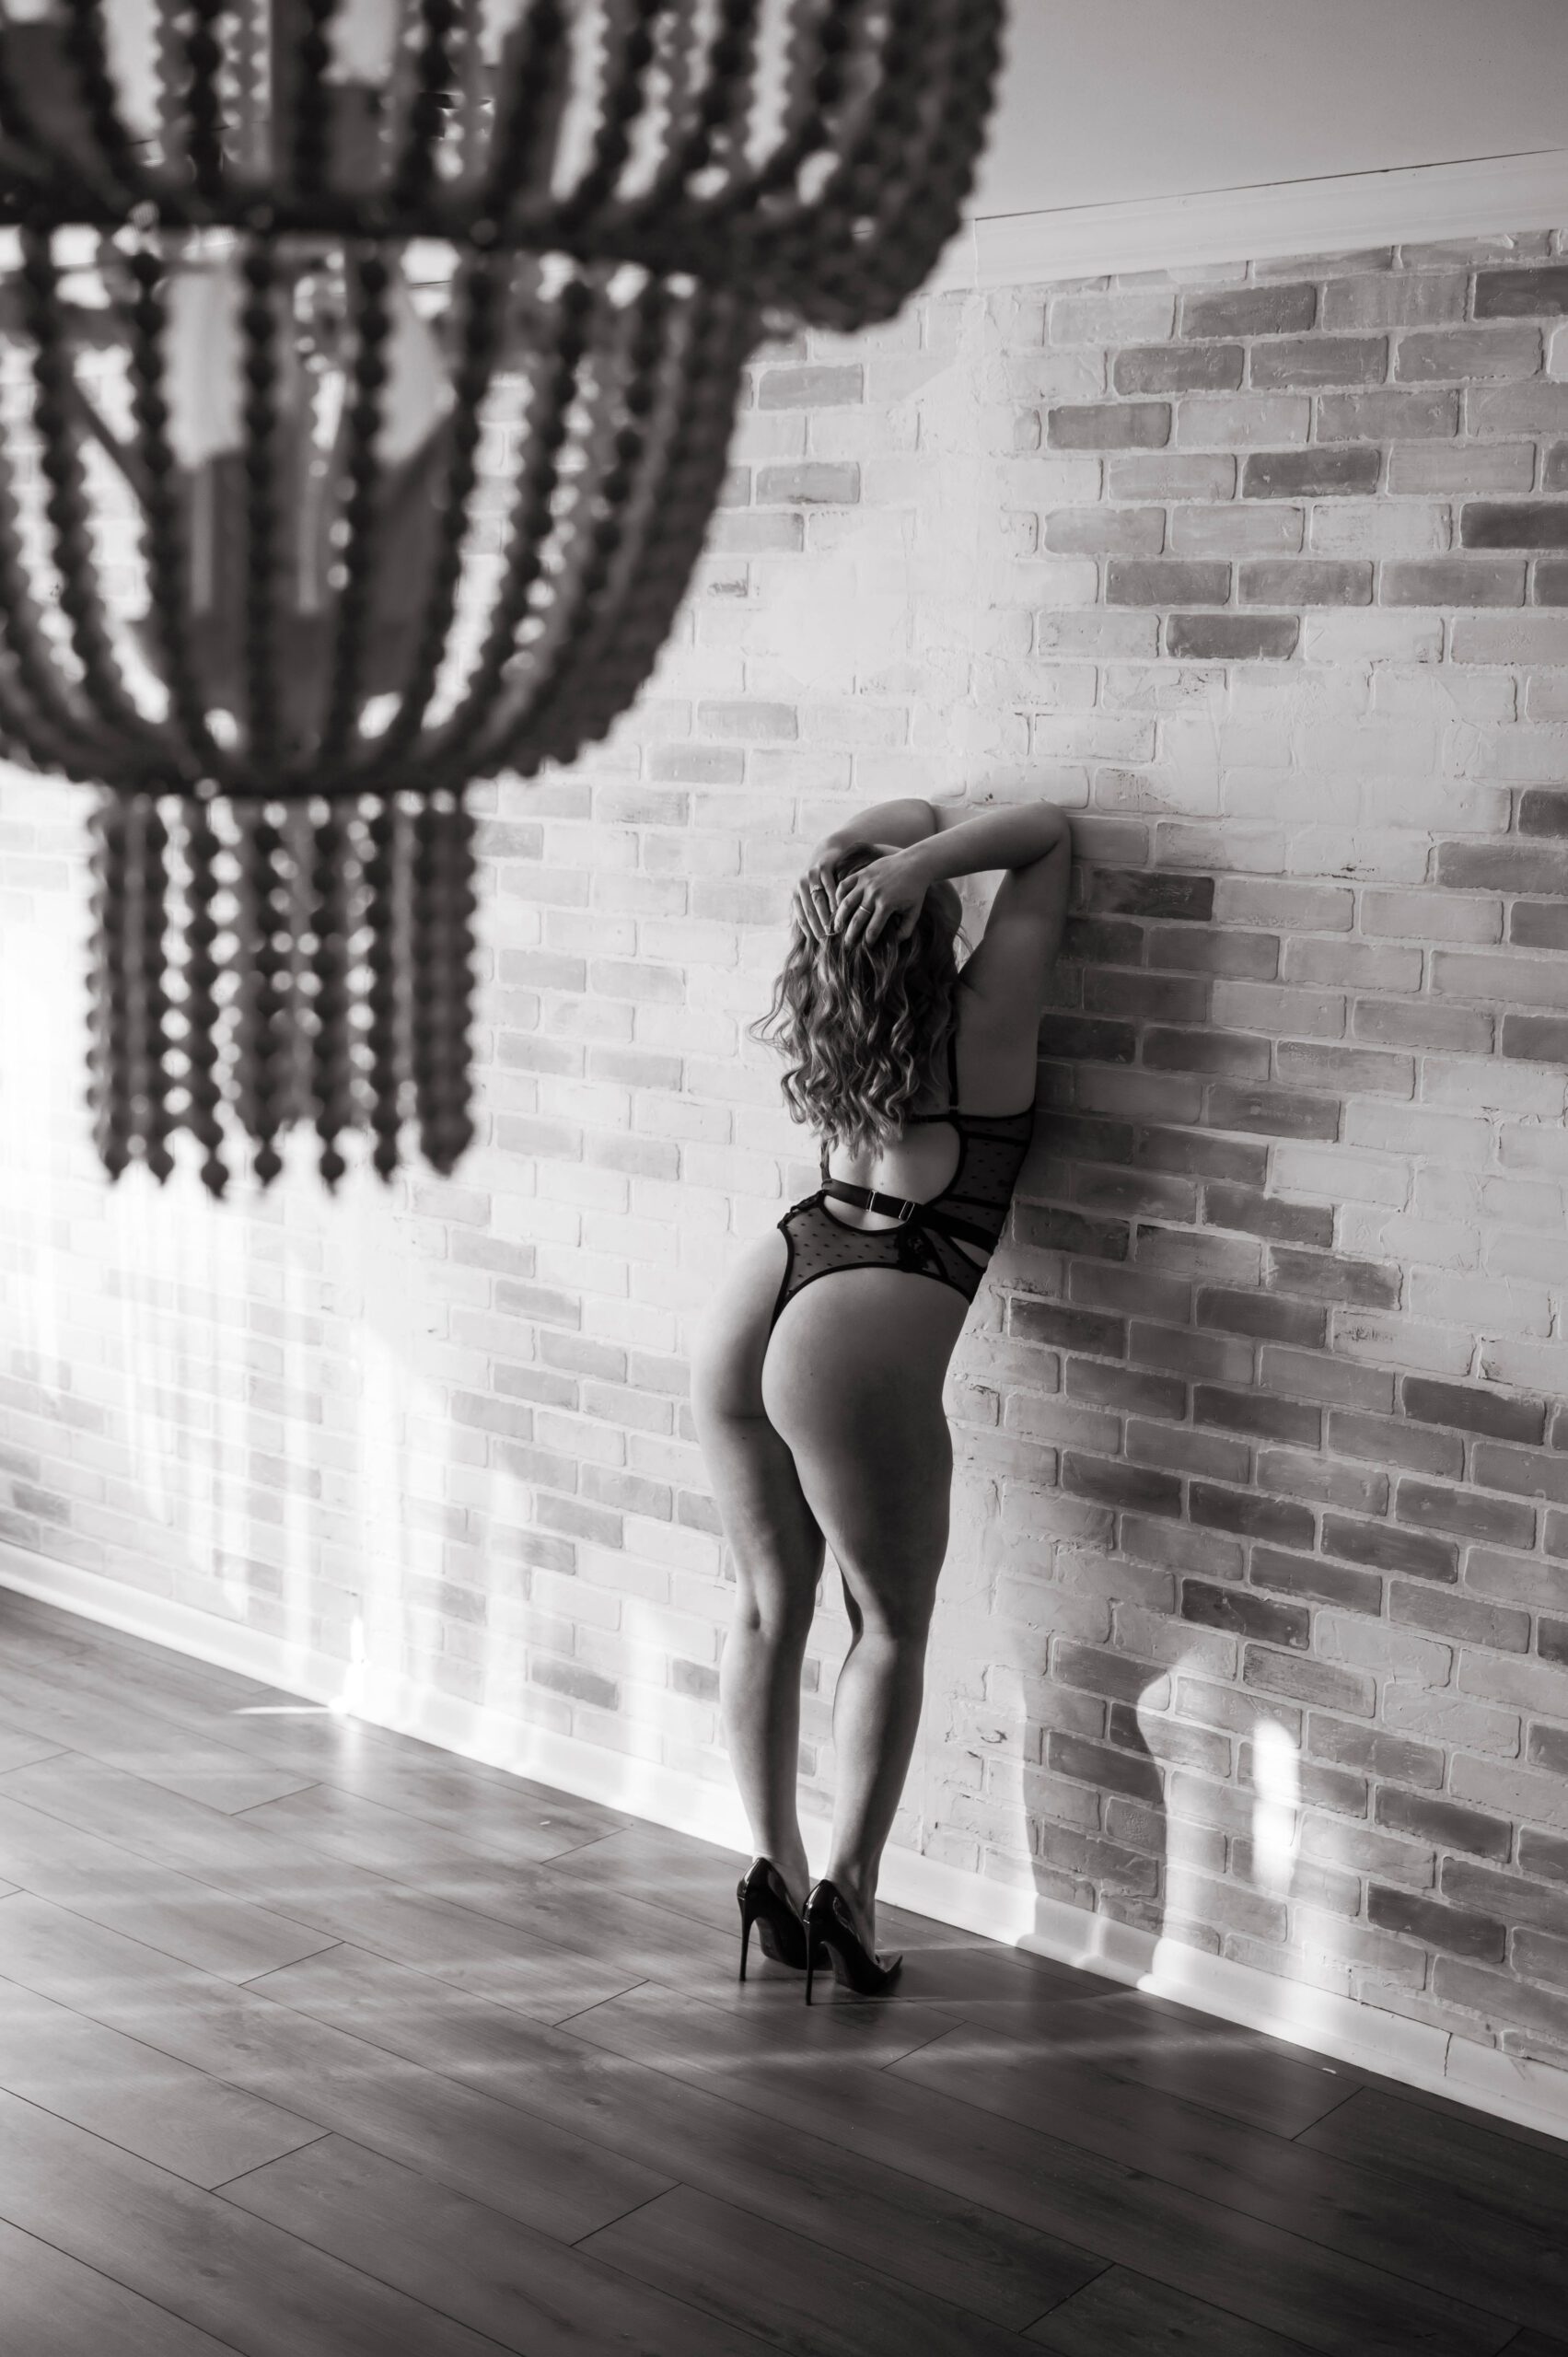
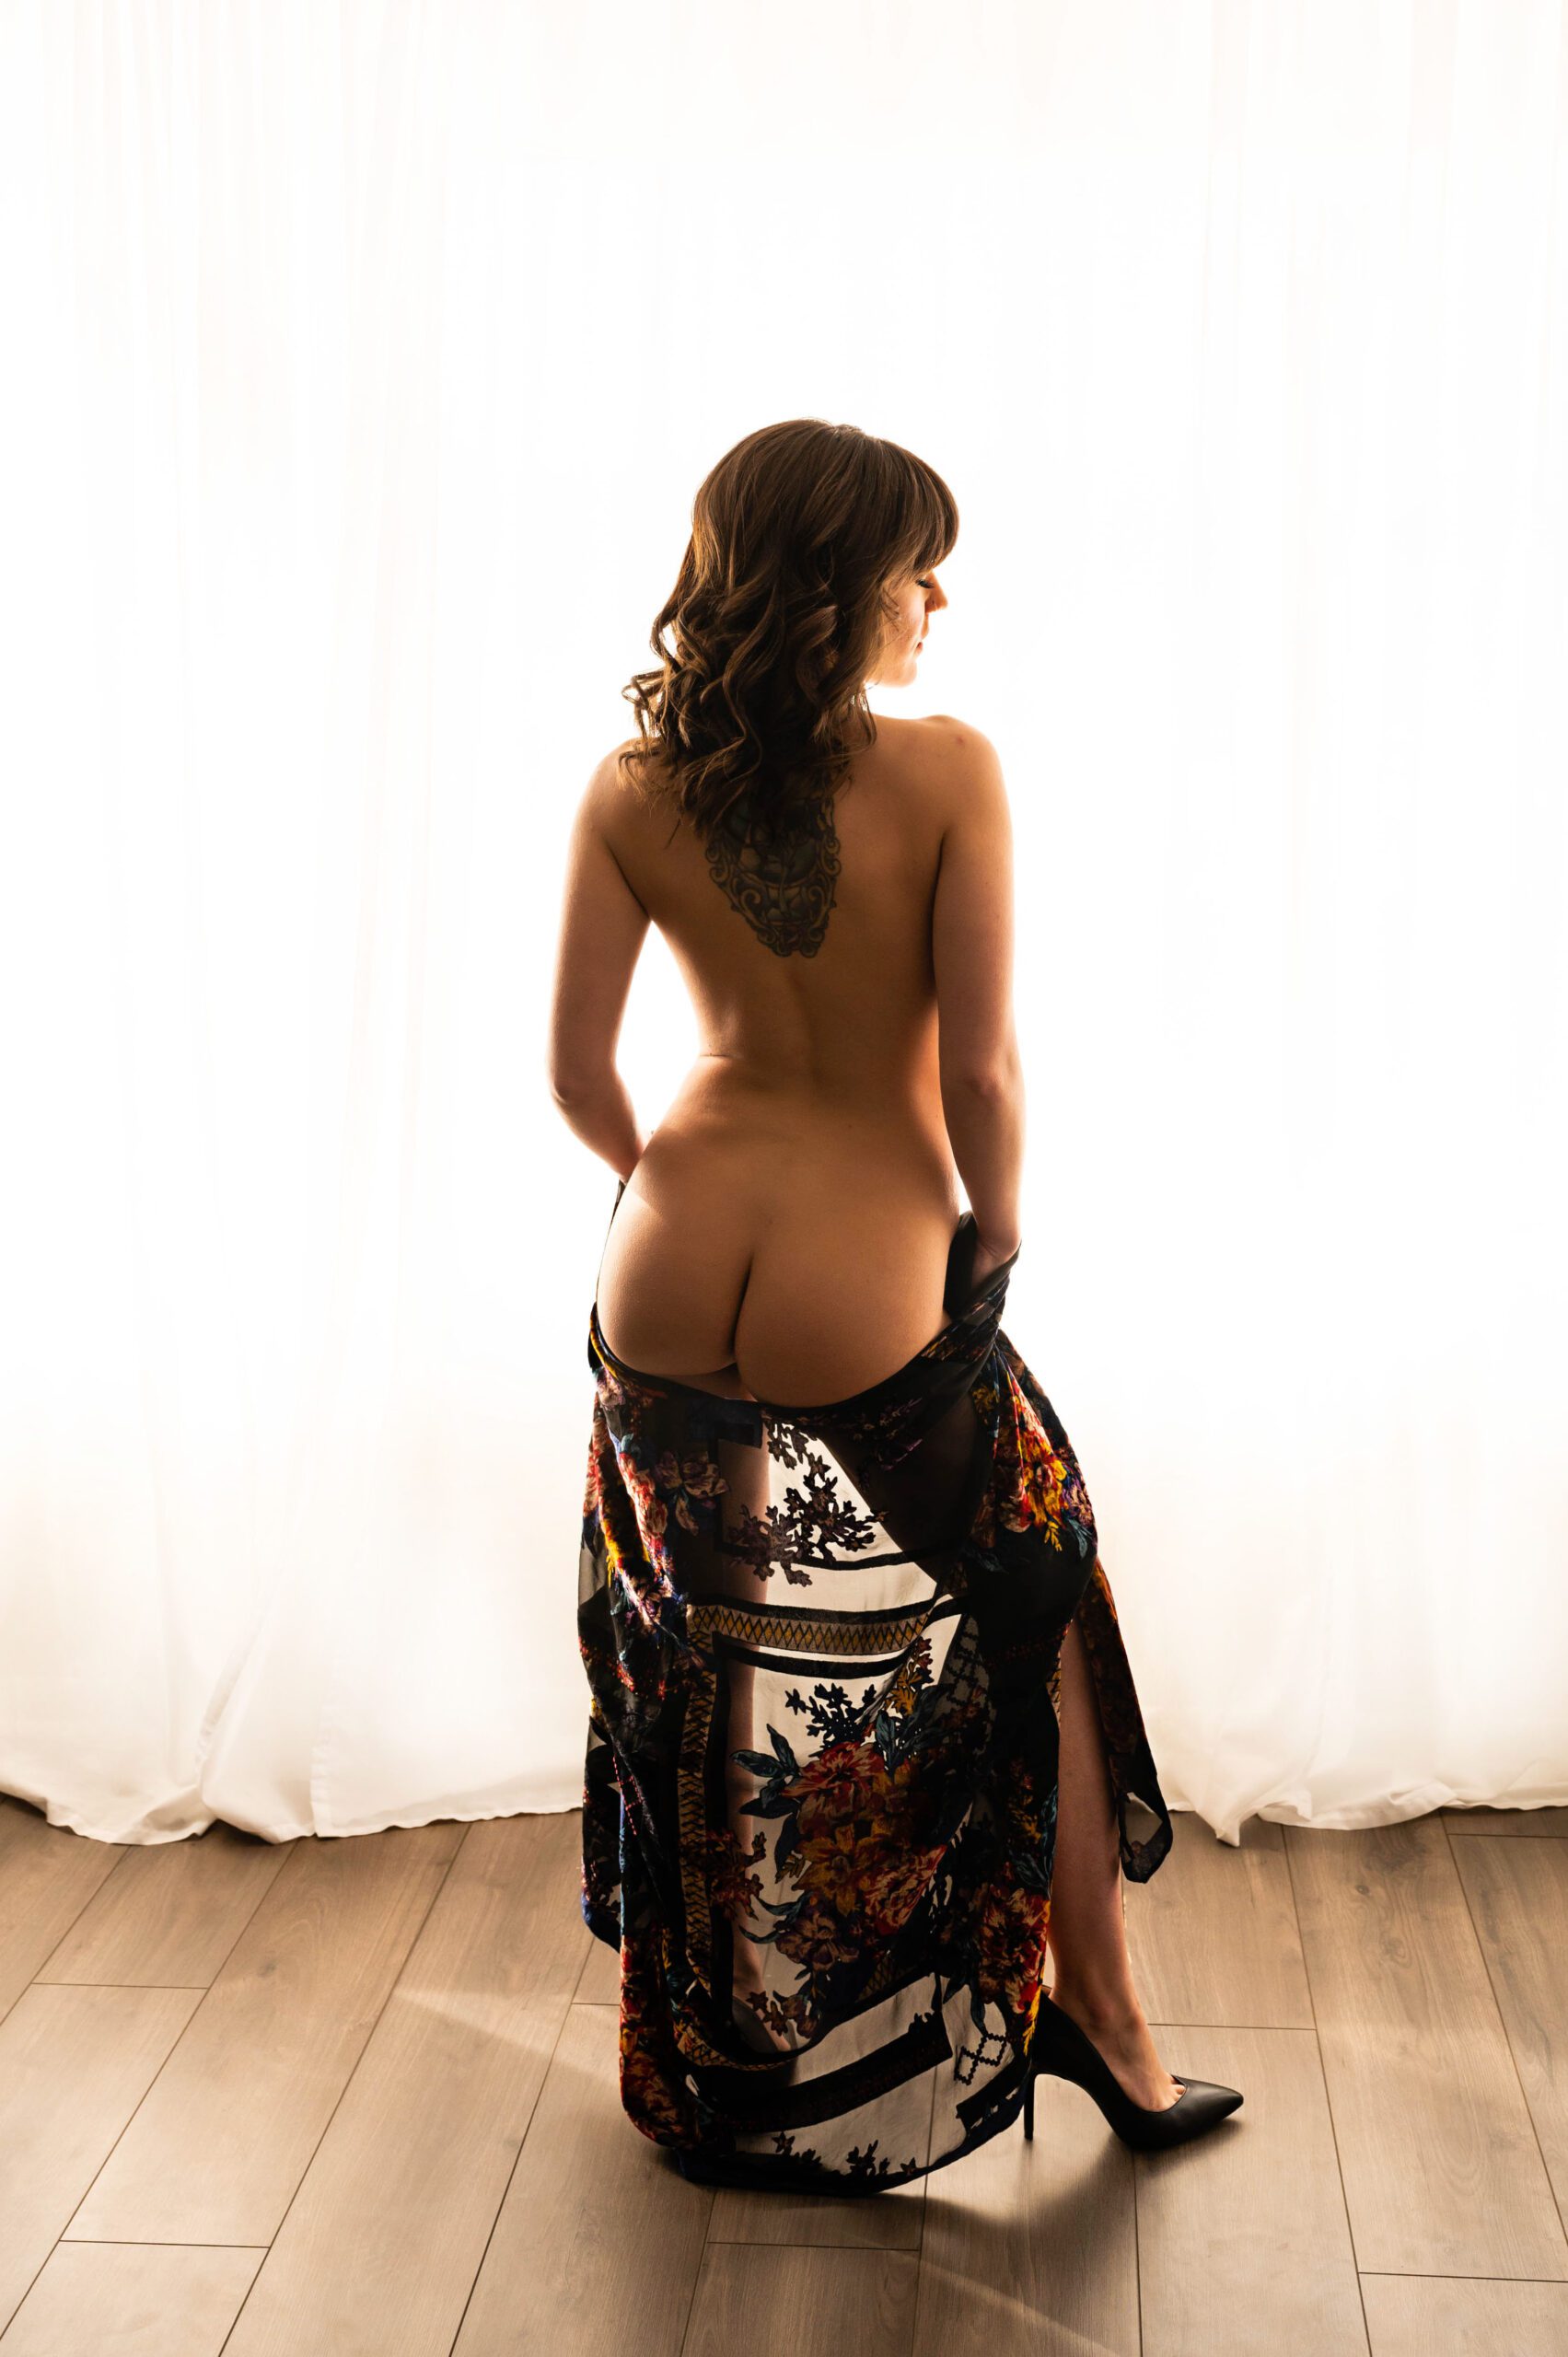
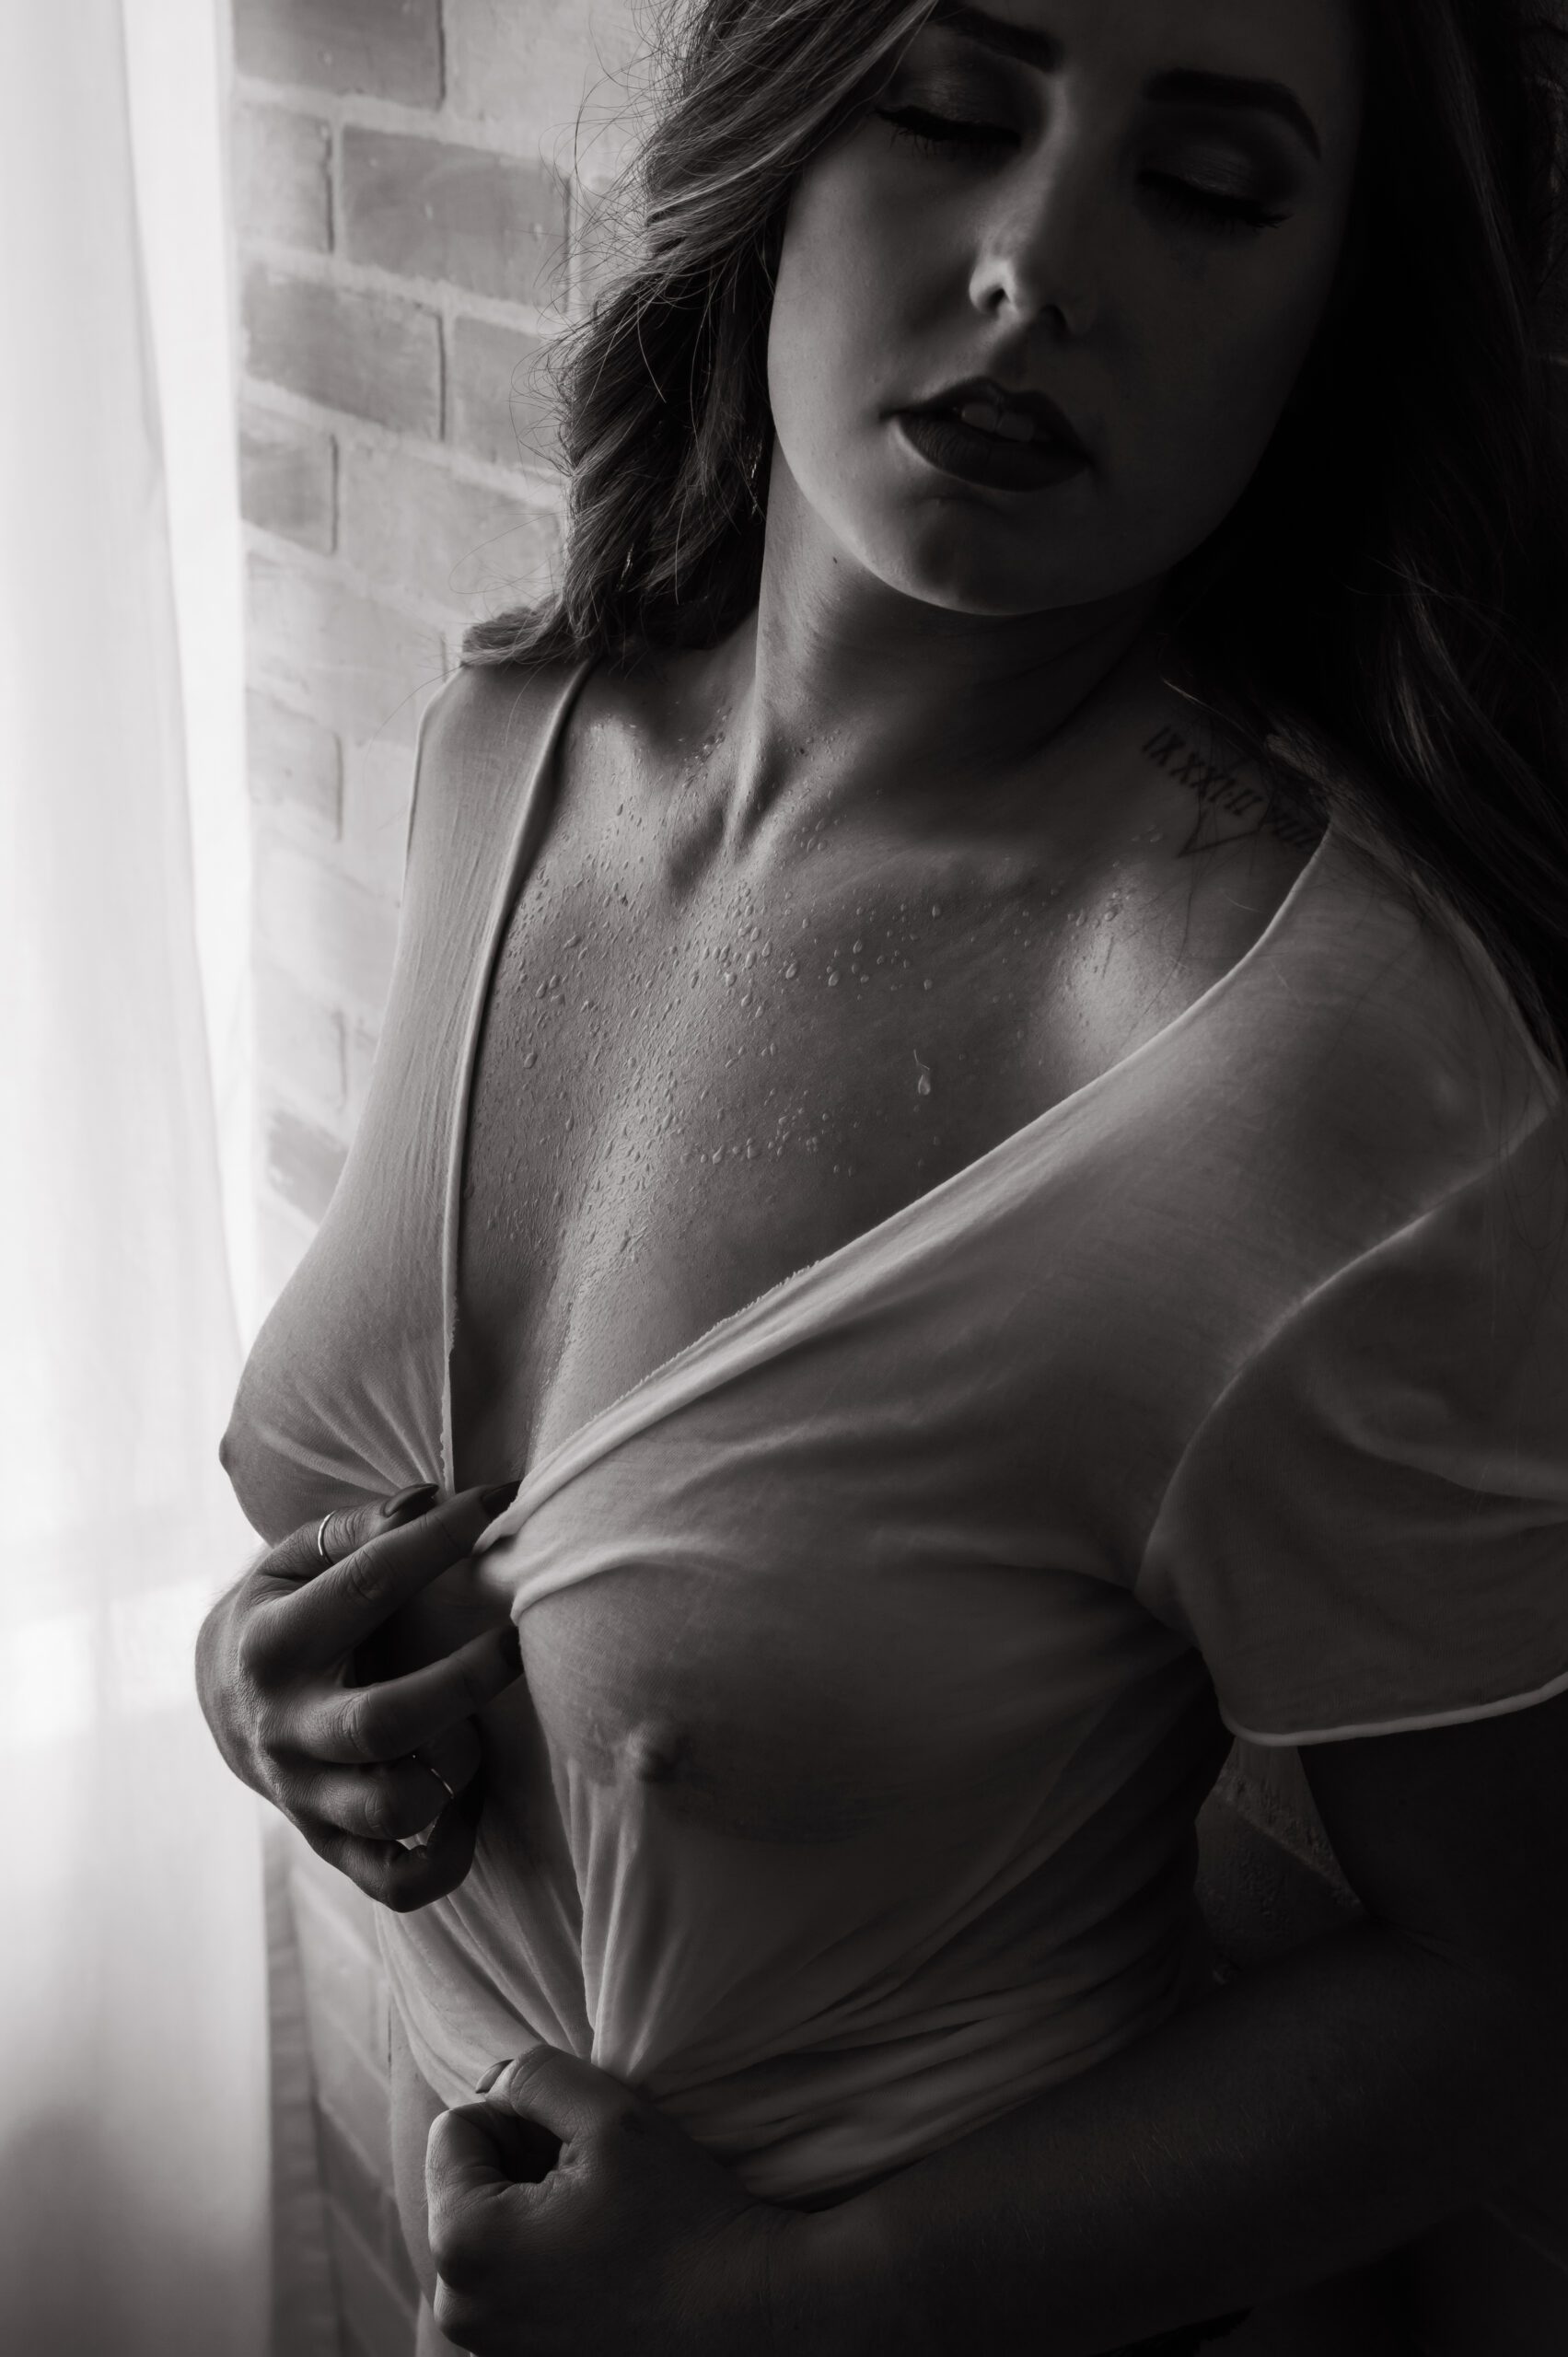
NWI Boudoir offers a full service, luxury boudoir portrait experience. We are a body positive studio and firmly believe that women of all ages, all shapes and sizes, and all colors can be sexy. Boudoir photography is an intimate and empowering experience. We have an all female staff, who will not only help you look your best, but also help calm your nerves, increase your confidence and most of all ensure you have FUN!
Our gorgeous, one of a kind, boudoir photography studio is located upstairs at 1587 S. Calumet Rd. in Chesterton, Indiana. The studio is easy to find, right off of State Rd. 49, close to the Indiana Toll Road and the 80/94 Expressway.
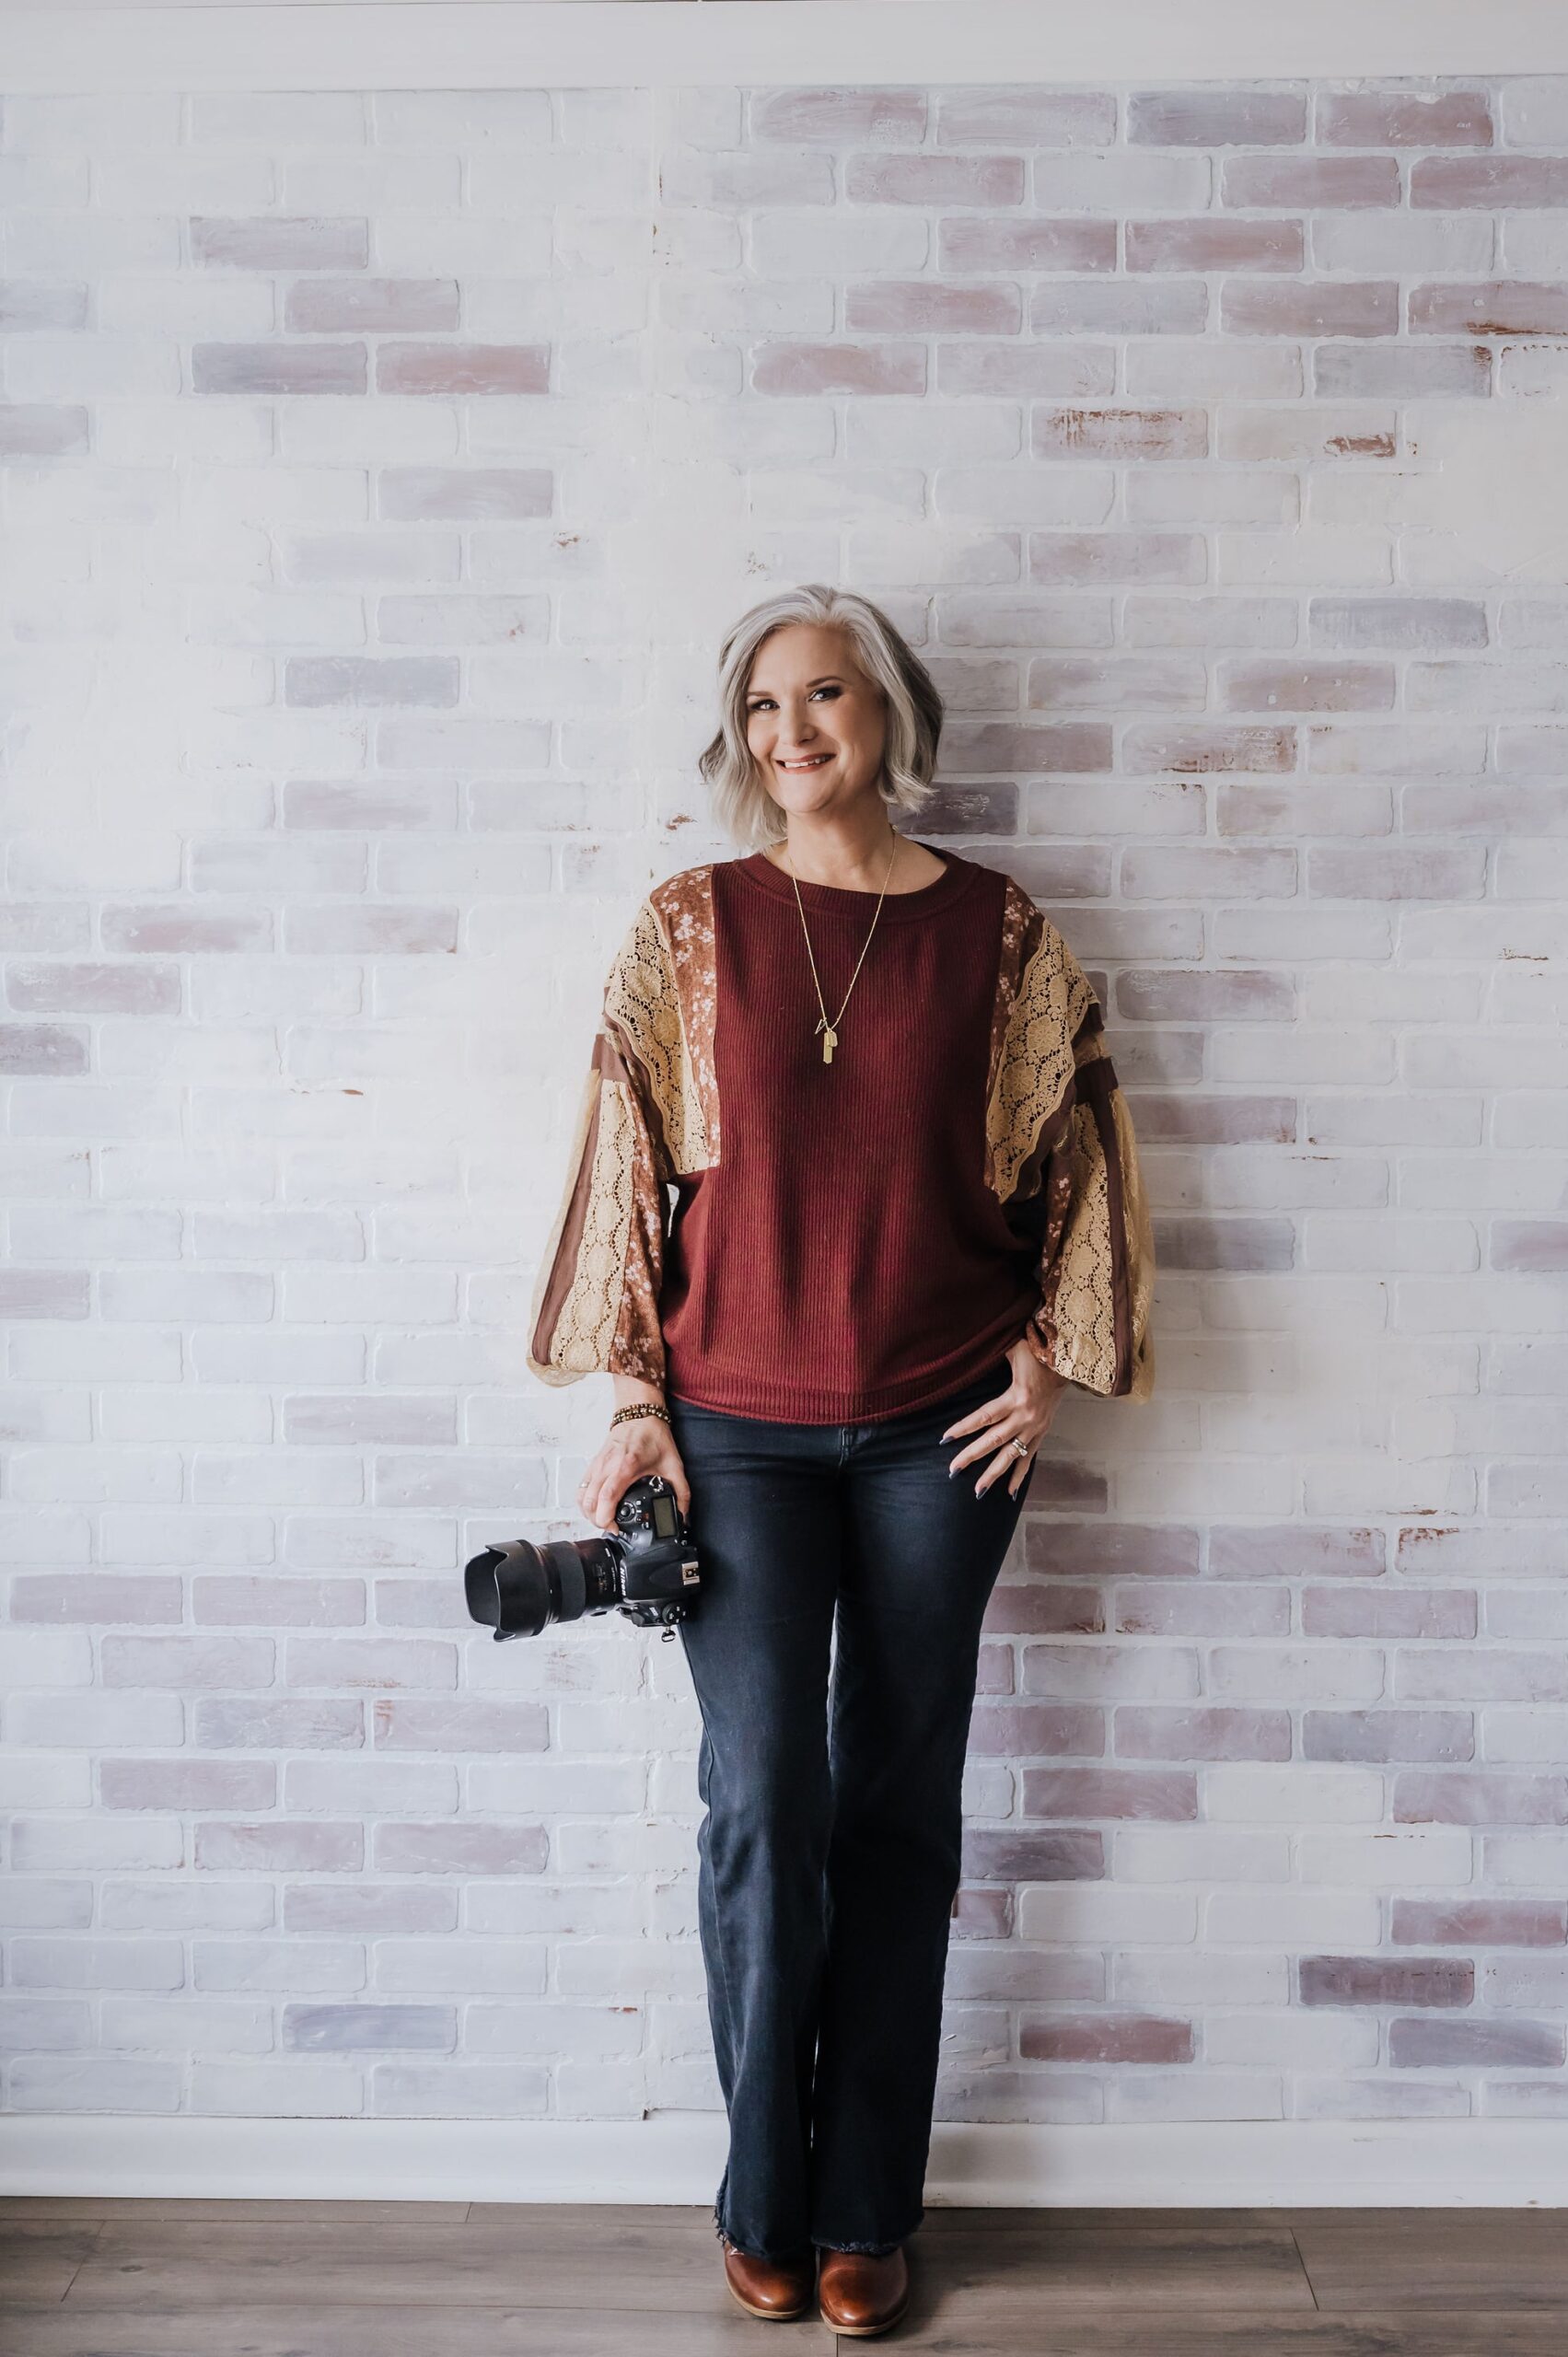

Meet the Photographer
Nice To Meet You
I’m Stephanie Wallace. I am an experienced portrait photographer specializing exclusively in Boudoir Photography. I truly enjoy helping women of all ages, all shapes and sizes, feel beautiful, confident and sexy in the skin that they’re in. I have put all of my creative energy and focus into making this the best boudoir photography studio in the Northwest Indiana area. I truly LOVE what I do. It’s time to stop making excuses, get over your fears, and let me help you rediscover your beauty.
Kind Words
Love from my amazing clients
“I encourage everyone to stop what you’re doing and go book a boudoir session with NWI Boudoir! Every bit of the experience has been absolutely amazing. I wish I did it sooner! Stephanie pays attention to every little detail. She made me feel so comfortable and helped me every step of the way. Every single picture was beautiful! Forget about whatever excuse is stopping you from doing this, you’ll be so happy you did.”
“Stephanie was absolutely amazing! I’m sure like everyone else, I was so nervous for my shoot. Right when we started she showed me exactly how to pose, and within a few photos I was so comfortable. I would highly recommend doing this for a fun experience and to get yourself out of your comfort zone.”
“I had a boudoir shoot done for my husband as a wedding gift. I was so nervous to do it, but I’m so glad that I did. I have never been confident with my body. After this shoot, and seeing the pictures of myself, I was in awe! I felt sexy and confident. My husband absolutely loves them and says it was the best gift he’s ever received. I’m so grateful for the work Stephanie does. She’s fantastic!”